When you purchase through links on our site, we may earn an affiliate commission. Here’s how it works.
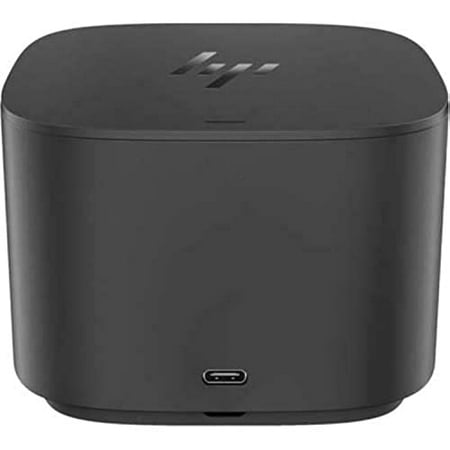
If you have encountered an issue with the HP Thunderbolt Dock G2 not working, the first step is to diagnose the problem by referring to the user manual.
Most issues with Thunderbolt Dock G2 generally happen due to connectivity issues between the docking station and the device.
Refer to the steps and guidelines below after checking the essential hardware connection.


Reasons for HP Thunderbolt Dock G2 Not Working
Reason 1.
Sometimes, when the user has been away from the desk for more than an hour, the laptop doesn’t react to the keystrokes or mouse strokes.
If the issue occurs when you are AFK (away from the keyboard), open the lid and manually press the laptop’s power button.
It also behaves the same way in semi-sleep mode. However, since the laptop is still placed on the dock with up-to-date firmware, you may encounter several connectivity problems.
Reason 2.
The laptop utilizes a USB-C connection with the external screen via the display port, which usually works fine. But, within a few days, you may encounter several issues regarding its connection and functioning.
In this case, you must check whether the external device authorizes the Thunderbolt device before establishing the connection. To do that, follow these steps.
The Recommended Solution for HP Thunderbolt Dock G2 Not Working

HP Thunderbolt Dock G2 Not Working – Check the authorization status of the device
Step 1.
Right-click on the Thunderbolt icon that you can see on the system tray
Step 2.
Now select the option for the approved attached devices.
Step 3.
Click on the spot where it says that the Thunderbolt device gets connected.
Step 4.
Now, an approved Thunderbolt device dialogue box appears on the screen. Tap on ‘Approve the Thunderbolt Dock’ to proceed.
Step 5.
If you missed the dialogue box, you can reopen it by clicking on the message icon in the system tray.
Check the security level option
To resolve the issue in another way, set the Thunderbolt security level option to the display port user authentication. Follow these steps to do so.
Step 1.
To enter the BIOS setup, turn on or restart the computer and press F10.
Step 2.
Now, select the advanced menu, and you will get the options for Thunderbolt. Just select the Thunderbolt security level.
Step 3.
Change the Thunderbolt security level option to user authentication. The menu will come from PCI-e and the display port.
Step 4.
Afterward, select save and exit. Just select yes to save the changes while leaving the setup.
Another alternative authentication method is to use the computer keyboard instead of the external keyboard to enter the BitLocker pin code.

Run an update

HP Thunderbolt Dock G2 Not Working – Running an update
Step 1.
First of all, update Windows( for Windows OS) and ios (for Mac OS)
Step 2.
Then, change the security for the ports by going to the advanced option.
Step 3.
Turn on the port security in the drop-down lists you get there.
Step 4.
As soon as you see this, install the media HXC driver. It comes with a secure Thunderbolt connection.
Step 5.
Now, restart your device. You can see the Intel Thunderbolt firmware update going on.
Step 6.
You will have to restart the device as soon as this is complete.
Other alternatives
Step 1.
You must find the docking station with the model name on the manufacturer’s website. Go to the HP website.
Write “docking station” to find out the docking station by name. Once done, go to the “under compatibility” option. Tap on ‘show all options’ and then find the appropriate docking station.
Step 2.
To ensure the AC adaptor is compatible with the docking station, go to the HP consumer report website and write down the docking station’s name.
Choose the manual option and tap on the service and maintenance guide.
After that, you have to check and compare the power supply information on the website with the available information at the bottom of the docking station.
Step 3.
You must clear all the connections on the docking station. To do that, unlock the computer and power down the docking station.
Unplug it from the wall plug and disconnect the devices. Then, clean the device with compressed air to remove dirt or debris.
Step 4.
Run the ‘automatic repair’ after closing the PC. Once done, enter the installation media with the help of the USB drive.
Now, restart the PC. After that, set the language preference and go to troubleshoot advanced options to set ‘automatic repair now’. Wait for the computer to restart.
The bottom line for HP Thunderbolt Dock G2 not working
Following the steps mentioned above, you can successfully fix the issues regarding the HP Thunderbolt Dock G2 not working and enjoy using the docking station like before.
See Also
HP Ultraslim Docking Station Compatibility List