When you purchase through links on our site, we may earn an affiliate commission. Here’s how it works.
Setting Up Zoom App for Chromebook – Overview
In 2020, Zoom transformed from a niche and office-dedicated service to something colleagues, friends, and family can use to socialize and play games.
In other words, part of Zoom’s appeal is that it functions seamlessly regardless of the device or operating system (OS) you use. It is a cross-platform service.
Zoom is practical and user-friendly, mainly when used on a Chromebook. It is perhaps the best video conferencing service available, and in this review, we will show you how to set up and use the Zoom app on a Chromebook.
Create a Zoom Account
One advantage of Zoom is that you don’t need an account to join meetings. However, if you use the service regularly, it’s worth creating an account.
Next, go to the Zoom webpage to create an account using several options. You can register using an email address and passcode.
Alternatively, you can sign up using Google, Facebook, or SSO (Single Sign-On). For each option, you’ll be asked to confirm your date of birth and age. Zoom will not retain this information because it is considered confidential.

Setting Up Zoom App for Chromebook
Download the App
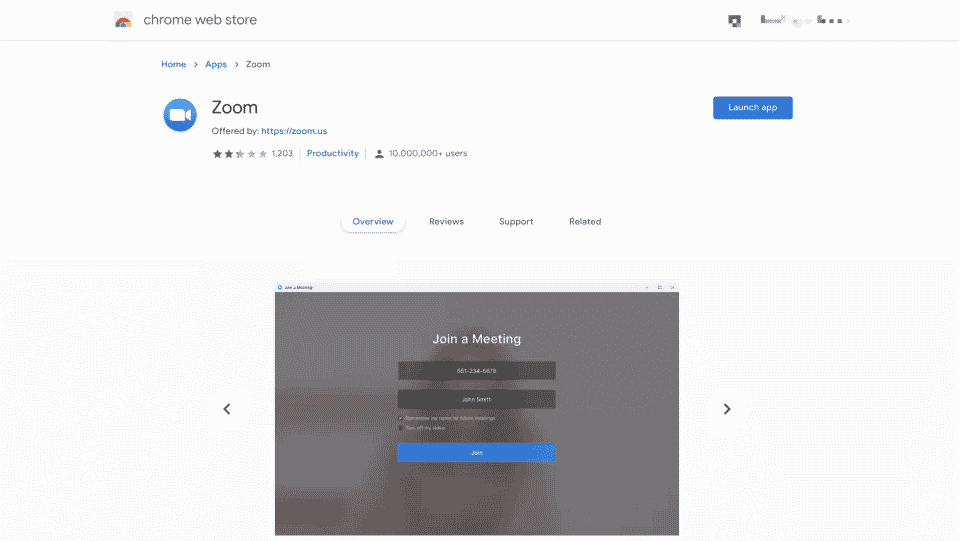
If you are a regular Zoom user, you will want to use the dedicated Chrome app and the web service. To download the app, head to the Chrome Web Store.
In the applications section, search for Zoom. You’ll see a few results, but you’re looking for an app published by Zoom.us. To install the app on your Chromebook, click ‘Add to Chrome.’
Google announced that Chrome apps will eventually be replaced with PWA (Progressive Web Apps). However, the Zoom app is still available and functions seamlessly, so it’s worth installing.
Join a Zoom Meeting
You don’t need account information to join Zoom meetings on Chrome OS, making joining someone else’s Zoom call easy.
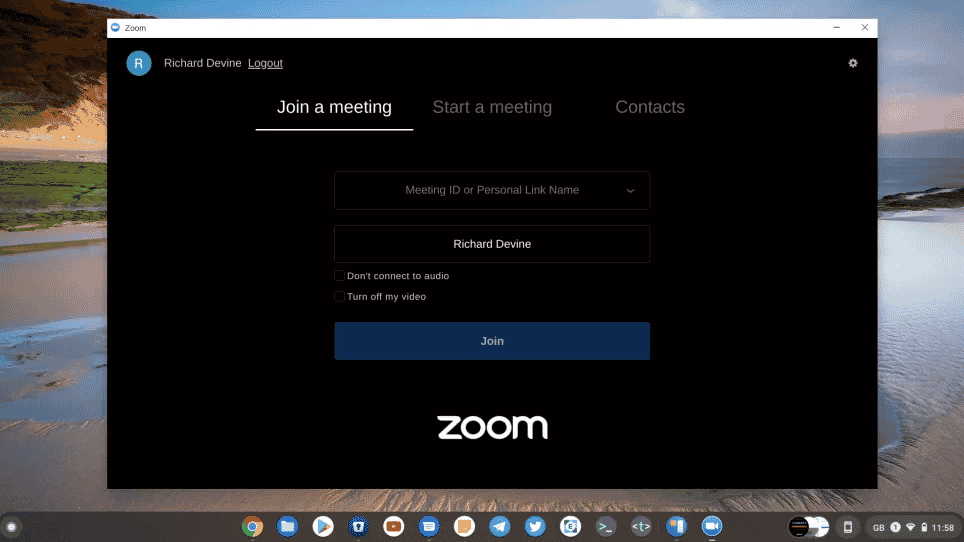
- Start by launching the Zoom App from the App Drawer on your Chromebook.
- Next, click the ‘Join a Meeting‘ tab and enter the ‘Meeting ID‘ you received.
- Enter your name in the text box below and click ‘Join‘ to access the meeting.
- If you wish not to have audio in the meeting, you can do so before joining. Likewise, you can turn back the audio during the meeting if necessary.
Start a Zoom Meeting
To start a Zoom meeting on your Chromebook, you must sign in, which is why we had a step to set up an account. At this point, launch the Chrome OS Zoom app and click on the ‘Sign in‘ tab, and enter your ID and password (login credentials)
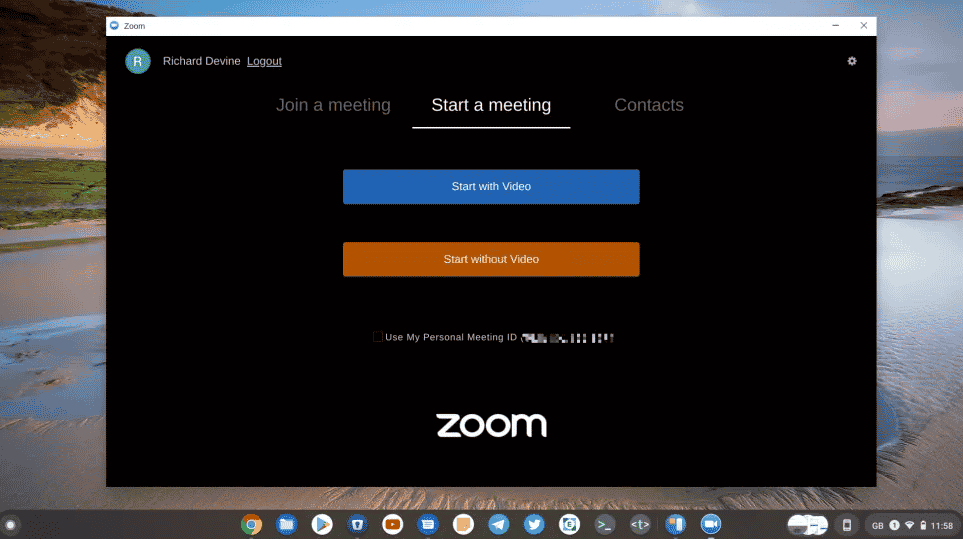
Once you’re logged into the Zoom app, you have two options for starting a meeting: you can either have audio or just video and pick the most favorable option. The third option is to use your Zoom Meeting ID if you’d like. This is a helpful option if you want regular meetings with the same people because you only need to share a code.
If you begin a new meeting, a unique meeting ID will be generated to share with people you’d like to join your meeting. Alternatively, if you have a contact list within the Zoom app, you can invite them from there.
Schedule a Zoom Meeting
The most standard way to schedule a Zoom meeting on a Chromebook is to use the web dashboard. So once you’ve logged in, head to the ‘Meetings’ tab and click ‘Schedule a Meeting.’ At this point, you can enter the meeting details such as date, time, and topic. In addition, you can generate a Meeting ID and a secure password if you wish.
An even better way to schedule a Zoom meeting is to use the Zoom Scheduler add-on from the Chrome Web Store. This add-on has two purposes: to give you access to all the tools in the Zoom web service dashboard and to integrate with Google Calendar. Once you’ve added it, any meeting you schedule on Google Calendar can be turned into a Zoom appointment by clicking on the ‘Make it a Zoom Meeting‘ switch.

Setting Up Zoom App for Chromebook
Note: Sometimes, the Zoom app for Chromebook does not work. Luckily, you can fix this by upgrading to the latest version of the Zoom app, reducing the number of apps open on your device, and contacting Google Chromebook Support.
Final Thought
The steps may vary depending on the specific Chromebook model and version of Chrome OS. It is recommended that you consult the official Chromebook support documentation. All in all, Zoom is a service built for the web, which makes it perfect for use on a Chromebook. All Zoom features are available on Chromebook, and although the Zoom Chrome App will eventually be updated, it’s still well-positioned to work on Chrome OS seamlessly.
See Also
How to Screen Record on Chromebook